Applying for official documents often requires a compliant photo ID, but navigating the specific requirements can feel overwhelming. This comprehensive guide simplifies the process, offering actionable advice, DIY tips, and insights on leveraging AI-powered solutions for photo IDs, both in the United States and globally, focusing on the 2026-2027 period. Whether you're applying for a passport, visa, driver's license, professional license, or secure access card, understanding the requirements is crucial for a smooth and successful application.
Understanding Core Photo ID Requirements
Different photo IDs have different specifications. However, the main requirements that you must always adhere to are the photo's dimensions, background, lighting, resolution, and pose. If you don't pay attention to these, your photo will be rejected, regardless of the type of document it's for.
Dimensions, Background, Lighting, Resolution, and Pose
The core requirements are:
- Dimensions: The correct size and proportions of the photo (e.g., 2x2 inches for US passports). Double-check specific requirements as they can vary slightly even within the same document type depending on the application or renewing office. See more about passport photo sizes.
- Background: A plain white or off-white background, free from shadows or patterns. Ensure the background is consistently lit.
- Lighting: Uniform lighting, with no shadows on the face or background. Proper lighting prevents issues with facial recognition and ensures accurate color representation.
- Resolution: Sufficient resolution to show clear facial features, usually at least 300 DPI. Lower resolution photos can appear blurry or pixelated, leading to rejection.
- Pose: A full-face view, square to the camera, with a neutral expression. Avoid tilting your head or making exaggerated expressions.
Detailed Guidelines by Document Type
Different documents need different photo IDs; it's important to understand those details to avoid common mistakes. Knowing top ID photo rejection reasons can also be helpful.
US Passports and Visas
The US Department of State has strict guidelines for passport and visa photos. Staying informed helps prevent delays in your application.
- Size: 2x2 inches (51x51 mm).
- Head Size: The head must be between 1 inch and 1 3/8 inches (25 mm and 35 mm) from the bottom of the chin to the top of the head.
- Expression: Neutral facial expression (no smiling or frowning). Keep your mouth closed and avoid any unnatural expressions.
For more information, refer to the official U.S. Department of State guidelines.
Driver's Licenses
Driver's license photo requirements vary by state, so careful checking is key. However, common requirements include:
- Size: Varies, but typically around 2x2 inches. Consult your local DMV for exact specifications.
- Background: Plain and neutral, usually white or off-white.
- Eyeglasses: Generally not allowed. Check state-specific guidelines regarding medical or religious exceptions.
Check with your local Department of Motor Vehicles (DMV) for specific requirements. Regulations change so stay up-to-date.
Green Cards and Citizenship Applications
USCIS has specific photo guidelines for Green Cards and citizenship applications.
- Size: 2x2 inches (51x51 mm).
- Background: White. Ensure the background is completely free of shadows or distractions.
- Two Identical Photos: Submit two identical photos to avoid processing delays.
Refer to the USCIS photo guidelines for comprehensive instructions.
Professional Licenses and Secure Access Cards
Professional licenses and secure access cards often require compliant photo IDs. Requirements may come from a professional organization, state, or federal agency.
- Size: Varies depending on the licensing or security agency. Consult the specific requirements for your license or card.
- Background: Usually plain and neutral. Adhere to specific color requirements if stipulated.
- Compliance: Must meet specific standards for facial recognition. Ensure your photo meets biometric standards for automated verification.
Navigating Country-Specific Regulations
Different countries have very different regulations that must be adhered to when you apply for a visa or a passport. Failing to meet their individual standards can result in application rejection. It's important to check guidelines if you need a photo for a Schengen visa.
Size and Format
Regulations vary from country to country, so it is best to know the specific rules of your destination country. Here are some examples:
- Schengen Area: 35x45 mm, White background. Be sure the white background is a pure white, not off-white or cream.
- United Kingdom: 35x45 mm, Light grey or cream background. Adhere strictly to the specified shade of grey or cream.
- Canada: 50x70 mm, White background. Note the larger size requirement compared to other countries.
- Australia: 35x45 mm, Light grey or blue background. The subtle blue or grey must fall within acceptable ranges.
Additional Tips for Global Compliance
- Always check the latest guidelines from the embassy or consulate of the country for which you are applying. Requirements can change without notice.
- Be aware of cultural norms regarding attire and head coverings. Research any cultural or religious considerations before your photo session.
- Use AI-powered tools to verify compliance with specific country requirements. Ensure the tool is up-to-date with current standards.
DIY Photo Tips and Tricks
DIY photo tips are great and can help you create a good photo ID without spending a lot. However, accuracy is paramount, so ensure your DIY efforts meet all standards.
Setting Up Your Lighting and Background
Good lighting and a simple background are critical for DIY photo IDs. Tips include:
- Natural Light: Use soft, natural light, avoiding direct sunlight. Overexposure from direct sunlight can wash out facial features.
- Background: Use a white or off-white wall or sheet. Iron out any wrinkles in the sheet to avoid distracting marks. For tips, see our guide on passport photo background rules.
- Avoid Shadows: Ensure there are no shadows on your face or background. Reposition your light source to eliminate shadows.
Posing and Clothing
The way you pose and what you wear will affect your chances of approval, so keep these things in mind:
- Full Face View: Face the camera directly with a neutral expression. Practice in a mirror to ensure a relaxed expression.
- Proper Attire: Wear everyday clothing, avoiding uniforms or clothing that blends with the background. Choose colors that contrast well with the background. For more info, refer to our passport photo dress code guide.
- No Head Coverings: Unless for religious or medical reasons, avoid head coverings. Ensure the head covering meets specific guidelines.
Using Your Smartphone for a Perfect Headshot
With a smartphone, you can save money by taking your own photos, but make sure that the requirements are being met. Consult our guide about how to take a passport photo with your iPhone.
- Use a Tripod: Stabilize your phone for sharp, clear images. This prevents blurry or shaky photos.
- Camera Settings: Use the front-facing camera and set it to the highest resolution. Higher resolution provides more detail and clarity.
- Assistance: Ask someone to take the photo for you to ensure proper framing. Proper framing ensures correct head size and position.
Leveraging AI-Powered Tools
AI tools are extremely useful for all things photo ID; they offer lots of unique functions that can help improve your photo ID. They can assist in ensuring compliance and improving photo quality, making the process easier. You can start by discovering the best passport photo guide.
How AI Simplifies Photo ID Compliance
AI-powered tools simplify photo ID compliance.
- Automatic Cropping: Automatically crops the photo to the correct dimensions. Ensures the photo meets the exact size requirements.
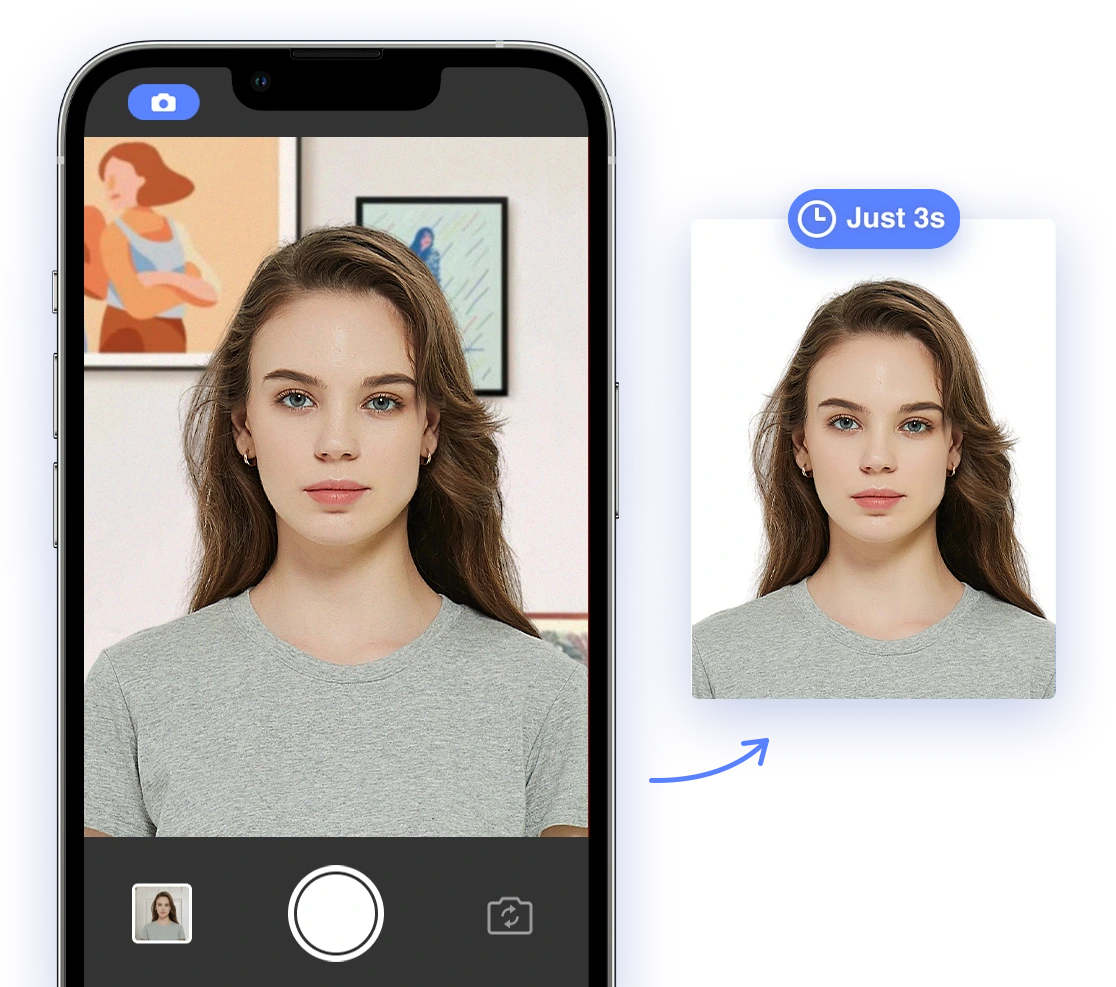
- Background Removal: Removes and replaces non-compliant backgrounds. Helps meet strict background color and uniformity requirements.
- Compliance Checks: Ensures the photo meets all official requirements. Reduces the risk of rejection due to non-compliance.
Evaluating AI-Powered Solutions
Evaluate AI solutions for accuracy and reliability. Not all AI tools are created equal, so choose carefully.
- Check Reviews: Read user reviews to assess the tool's performance. Look for consistently positive feedback regarding accuracy and ease of use.
- Compliance Guarantee: Look for tools that guarantee compliance and offer refunds if the photo is rejected. This offers a safety net in case the tool fails to meet requirements.
- Trial Period: Use a trial period to test the tool's features and accuracy. Experiment with different photos to evaluate the tool's effectiveness.
Leverage AI Passport Photo, which offers simple photo compliance. Ensure that you consult the terms and conditions.
Addressing Special Cases
Some people will need some special requirements met; these are often related to babies and medical conditions. These situations require extra care and attention. Our guide about a passport photo with a disability can be helpful.
Photos for Infants and Children
Taking photos of infants and children requires extra patience and care. Ensure that you have assistance and adequate resources. Find out more about the child passport application.
- Positioning: Lay the baby on a white sheet or have someone hold them. Use supports if necessary to keep the baby still.
- Lighting: Ensure even lighting without shadows. Diffuse the light to avoid harsh shadows and glare.
- Expression: Capture the photo when the child is calm and looking at the camera. Use toys or sounds to capture their attention.
Medical and Religious Exemptions for Head Coverings
If head coverings are worn for medical or religious reasons, ensure they do not obscure the face.
- Documentation: Provide a signed statement or documentation explaining the need for the head covering. This verifies the legitimacy of the exemption.
- Facial Visibility: Ensure the face is fully visible from the hairline to the chin. The covering should not obscure any facial features.
- Compliance: The head covering must not cast shadows on the face. Adjust lighting to eliminate shadows.
Troubleshooting Common Rejection Reasons
Learn the common mistakes people make and avoid making them yourself. Awareness of these issues can significantly increase your chances of first-time approval.
Incorrect Size, Poor Lighting, and Non-Compliant Attire
Avoid these common mistakes to prevent rejection. Take a few extra minutes to check the common requirements of your document. Check our guide about what to do if your passport photo is rejected.
- Size: Ensure the photo meets the specified dimensions. Use a ruler or photo editing software to verify size.
- Lighting: Use proper lighting to eliminate shadows. Review your photo on multiple devices to check for shadows.
- Attire: Follow the dress code guidelines for the specific document. Double-check your clothing choice against official guidelines.
Common Mistakes and How to Avoid Them
- Glare on Glasses: Remove glasses or adjust lighting to eliminate glare. Experiment with different lighting angles.
- Red Eye: Use photo editing tools to correct red eye. Enable red-eye reduction in your camera settings.
- Blurry Photos: Ensure the photo is sharp and clear. Use a tripod and proper lighting.
The Future of Photo IDs
As technology progresses, photo ID requirements evolve, and in the near future, there will be a very different way of handling things. Staying informed about these trends can help you prepare for future applications.
Digital IDs, Biometric Verification, and AI's Increasing Role
The future of photo IDs includes:
- Digital IDs: Transitioning to digital identification documents stored on smartphones. This will increase convenience and security.
- Biometric Verification: Using facial recognition and other biometric data for secure identification. This will enhance accuracy and reduce fraud.
- AI: Increasing reliance on AI for automated compliance checks and fraud detection. AI will play a key role in streamlining the application process.
Where to Get Your Photos
There are three different locations where you can get your photos, all with different pros and cons that you should consider before choosing. Consider factors like cost, convenience, and reliability. Our article where to get a passport photo can help you.
Professional Photography Services, DIY Solutions, and Online AI Tools
Weighing the options includes:
- Professional Services: High-quality results but can be expensive. Consider for complex or critical applications.
- DIY Solutions: Cost-effective but requires attention to detail. Suitable for simple applications with clear guidelines.
- Online AI Tools: Convenient and accurate, but choose reputable providers. Ideal for a balance of cost and convenience.
Finding Cost-Effective Options and Discounts
To find cost-effective options and discounts:
- Check for Coupons: Look for coupons and discounts from photo studios and online services. Use online search engines and coupon websites.
- DIY Printing: Print your photos at home or at a local pharmacy for lower costs. Use quality photo paper to produce a professional result.
- AI Tools: Some AI tools offer free trials or affordable subscription plans. Take advantage of free trials to assess the tool's suitability.
By following this comprehensive guide, you can confidently navigate the complexities of photo identification requirements for various official documents in the United States and globally. Understanding core requirements, adhering to document-specific guidelines, and leveraging AI-powered tools will ensure a smooth and successful application process, helping you unlock global opportunities with ease. Consider using AI Passport Photo to help you on your way!